
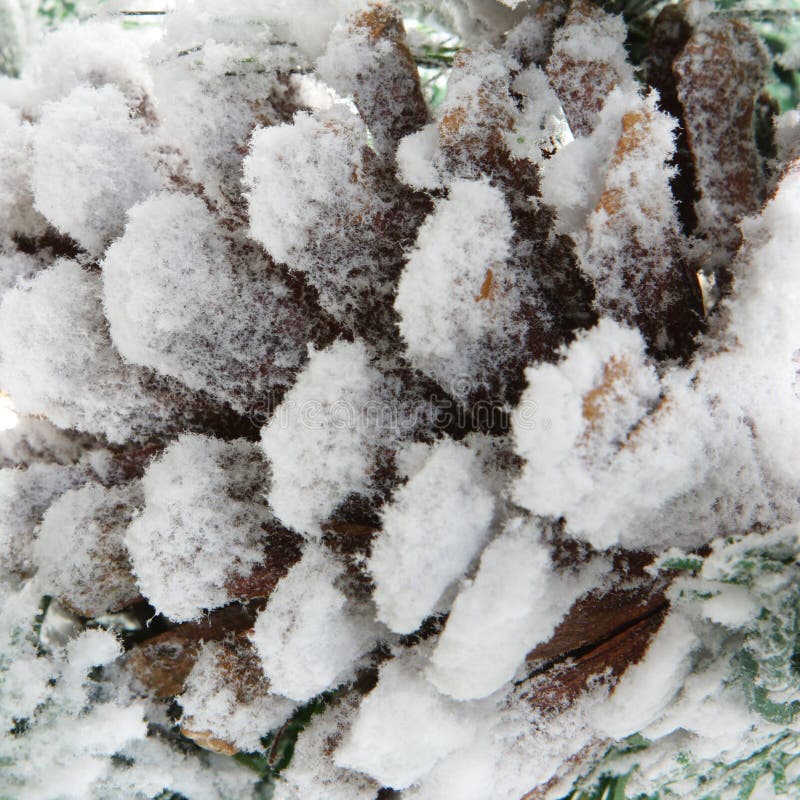
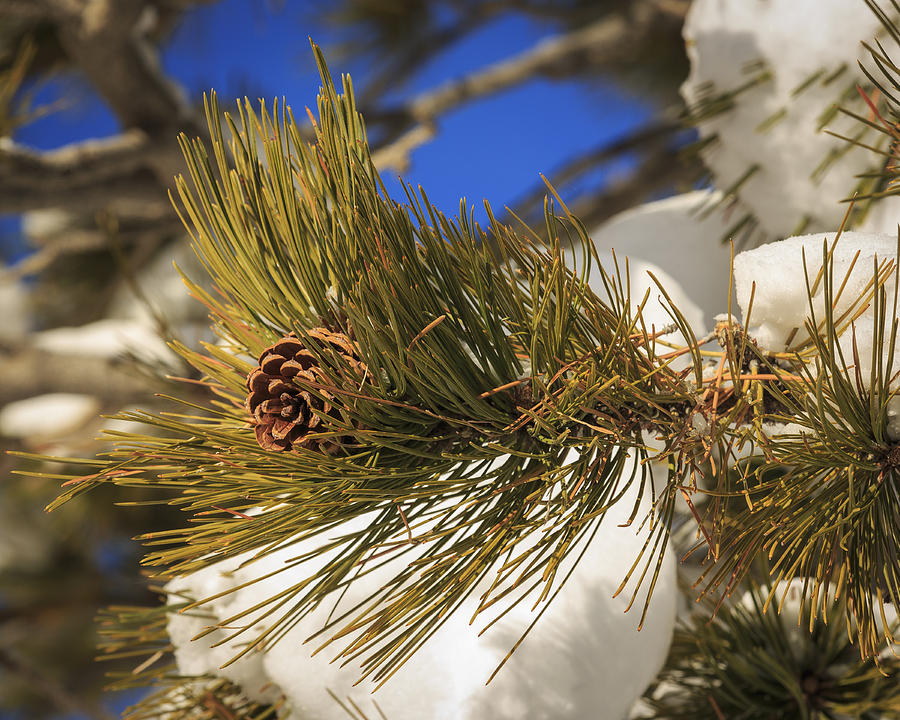
Pine Cone, Branch, Snow, Winter, Pine Needles, Conifer, Pine, Frost
The first step in making this pine cone snowy owl craft is to stuff the pine cones with cotton balls. Pull the cotton balls apart into smaller pieces before stuffing the pine cones. A full cotton ball won't fit, and they won't look as fluffy that way anyway. This is a very fun process, and it's honestly great fine motor practice for kids!

Snowy Pine Cone I
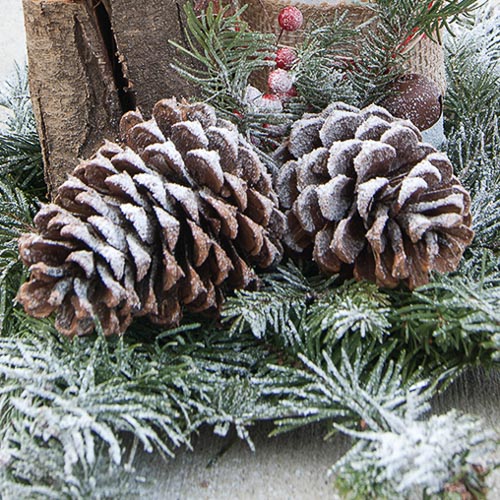
Let The Faux Snow Covered Pinecones Dry. Set aside the pinecones to dry once you've painted the tips of each of the pinecone petals. Now your snow covered pinecones are ready for your holiday decorating and Christmas crafting. For more pinecone crafts ideas check out our tutorials for Pinecone Christmas Gnome Ornaments and DIY pinecone flowers.
How to Make Snow Covered Pine Cones An Ultimate Guide Bren Did
Spray Snow Epsom Salts Paint (spray paint, latex paint and/or craft paint) Faux Bagged Snow Glitter Each of these technique creates a unique look. Check out each of the 5 methods below to find one that best suits your decorating style. How to Make Snow Covered Pine Cones Technique 1: Snow Covered Pine Cones Using Spray Snow
Pine Cone In Snow Free Stock Photo Public Domain Pictures
Ingredients 8 cups Goldfish fudge brownie grahams (about 24 ounces), divided 1 cup butter, softened 1 cup Nutella 1/2 cup Biscoff creamy cookie spread 3 cups plus 2 tablespoons confectioners' sugar, divided 8 pretzel rods, halved Directions Pulse 1 cup grahams in a food processor until fine crumbs form.

Beautiful. Large Pine Cone In The Snow. Stock Photo Image of daytime
pine snow snow angel of 36 NEXT Browse Getty Images' premium collection of high-quality, authentic Pine Cone Snow stock photos, royalty-free images, and pictures. Pine Cone Snow stock photos are available in a variety of sizes and formats to fit your needs.
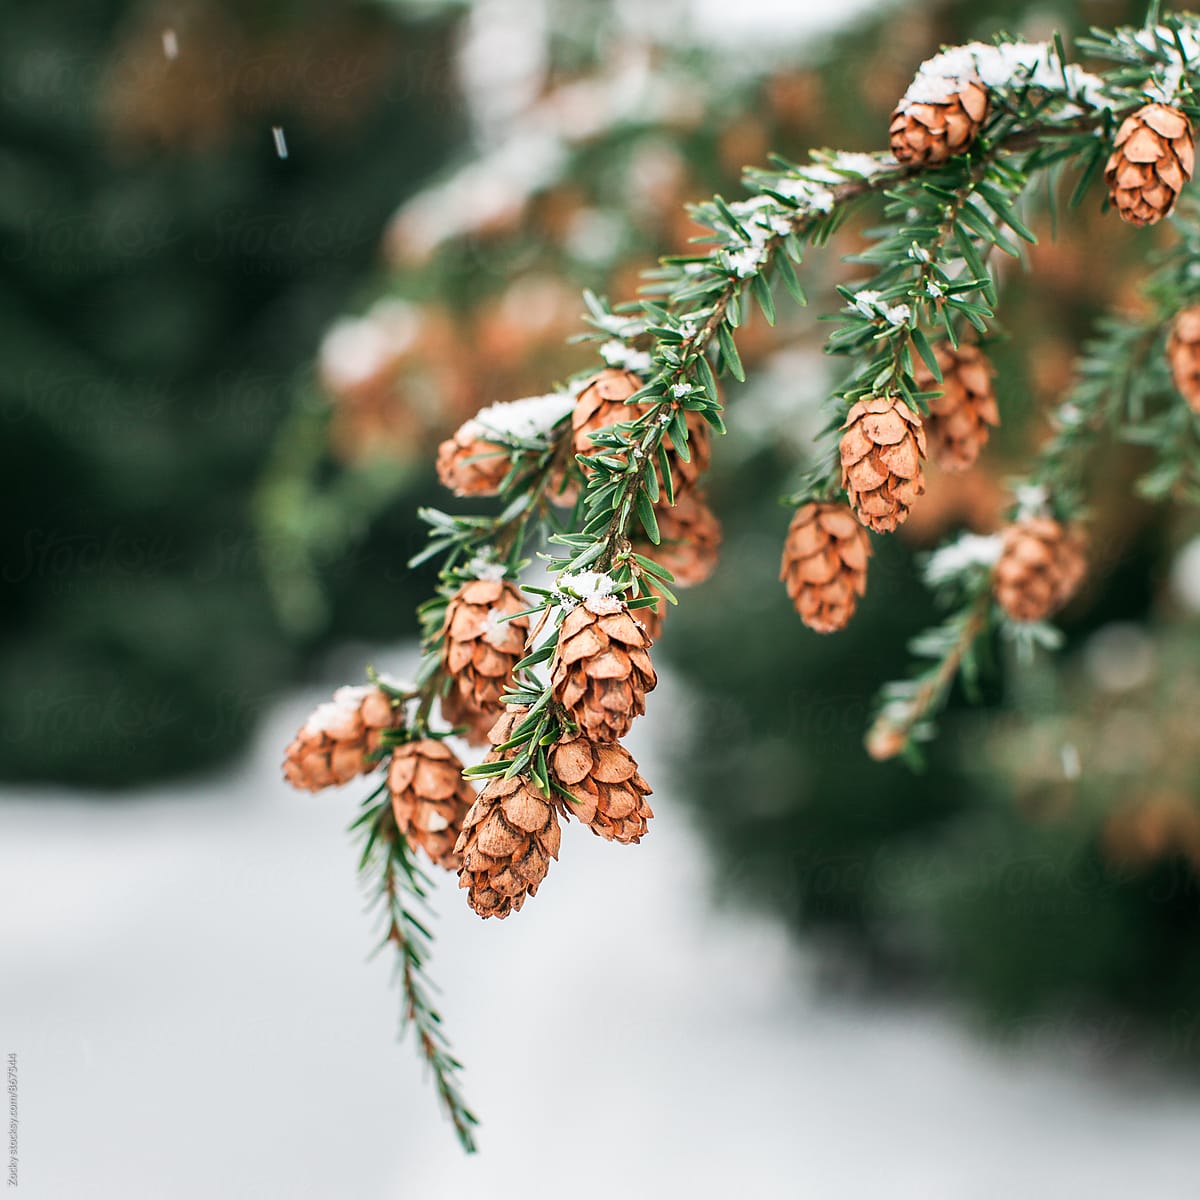
"Snow On Pine Cones" by Stocksy Contributor "R A V E N" Stocksy
DIY Eco-Friendly Snow Pine Cones With Salt & Wheatpaste. Make DIY wheatpaste with flour and water. Stir together flour and cold water till the wheatpaste has the consistency of thick pancake batter. Let the DIY wheatpaste stand for 10 or 15 minutes. Dip each pine cone into the DIY wheatpaste.
Snow Covered Pine Cones · Free Stock Photo
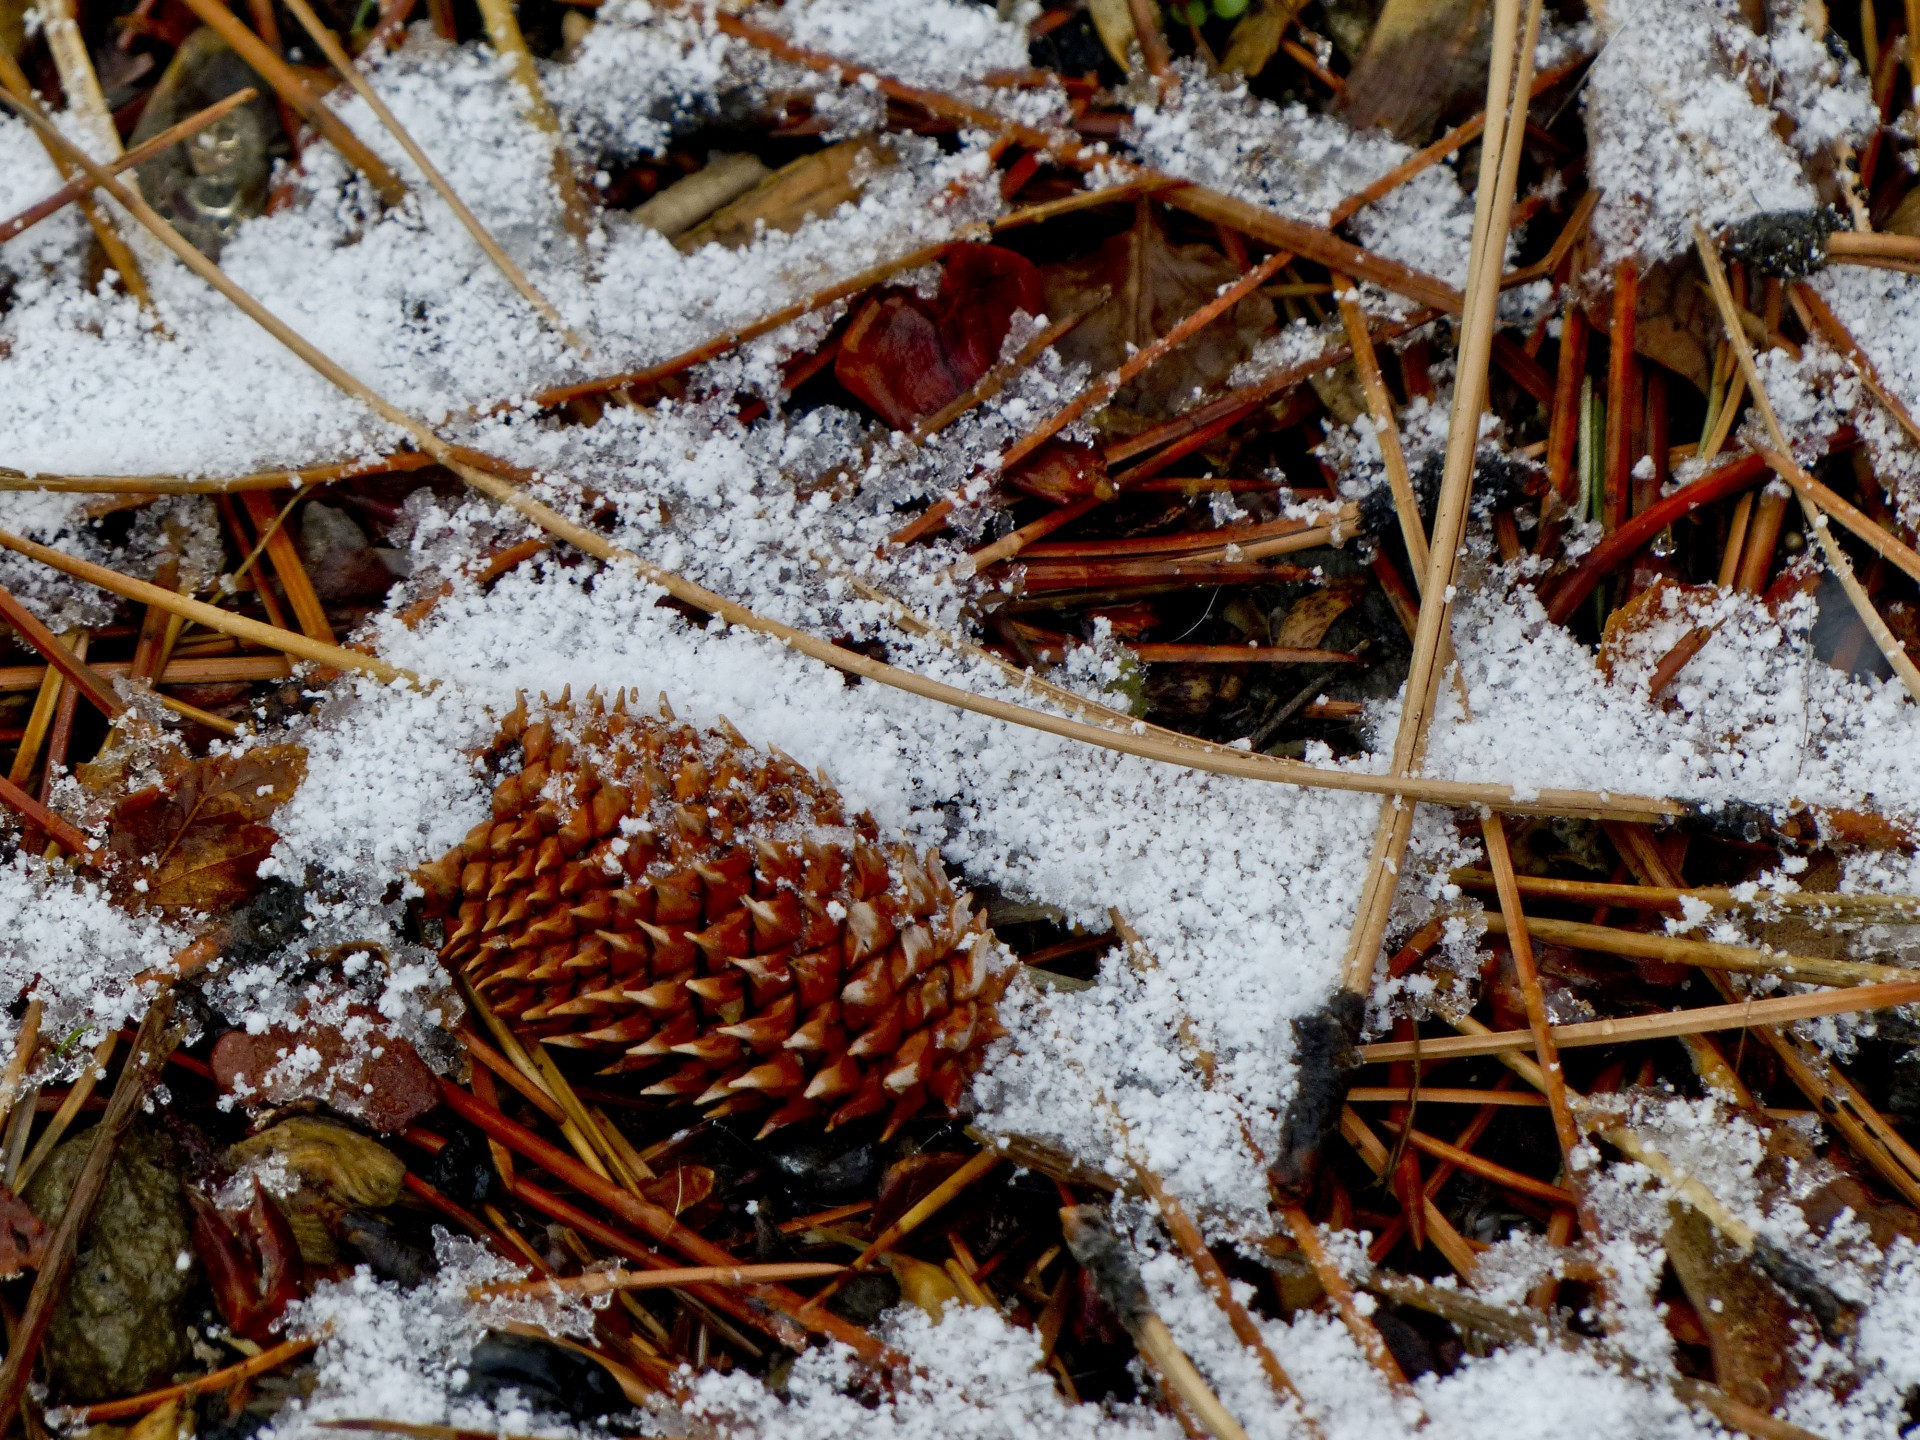
Snow-covered pine cones are easy and cheap to make at home. All you need for these snow pine cones are white acrylic paint and pine cones. DIY snow covered pine cones look great as natural Christmas tree ornaments! Three years ago, I've already made eco-friendly snow-covered pine cones with salt and DIY wheatpaste.

Pine cone on the snow stock photo. Image of decorating 25181926
Paintbrush Cereal bowl (or paper bowl; to put glitter in) Spoon Ruler Glue gun Check Out The Video Tutorial: Looking for more pinecone crafts? Here's a few of our favourites: Pinecone Snowman Ornaments How to Make Pinecone Owls DIY Pinecone Elves Instructions: Step 1: Find what you need Gather your supplies and materials.

Pine cone on the snow stock photo. Image of botany, brown 26490178
Amazon.com: Pine Cones With Snow 1-48 of over 1,000 results for "pine cones with snow" Results Price and other details may vary based on product size and color.
Snowy pine cone stock photo. Image of christmas, snowy 12197484
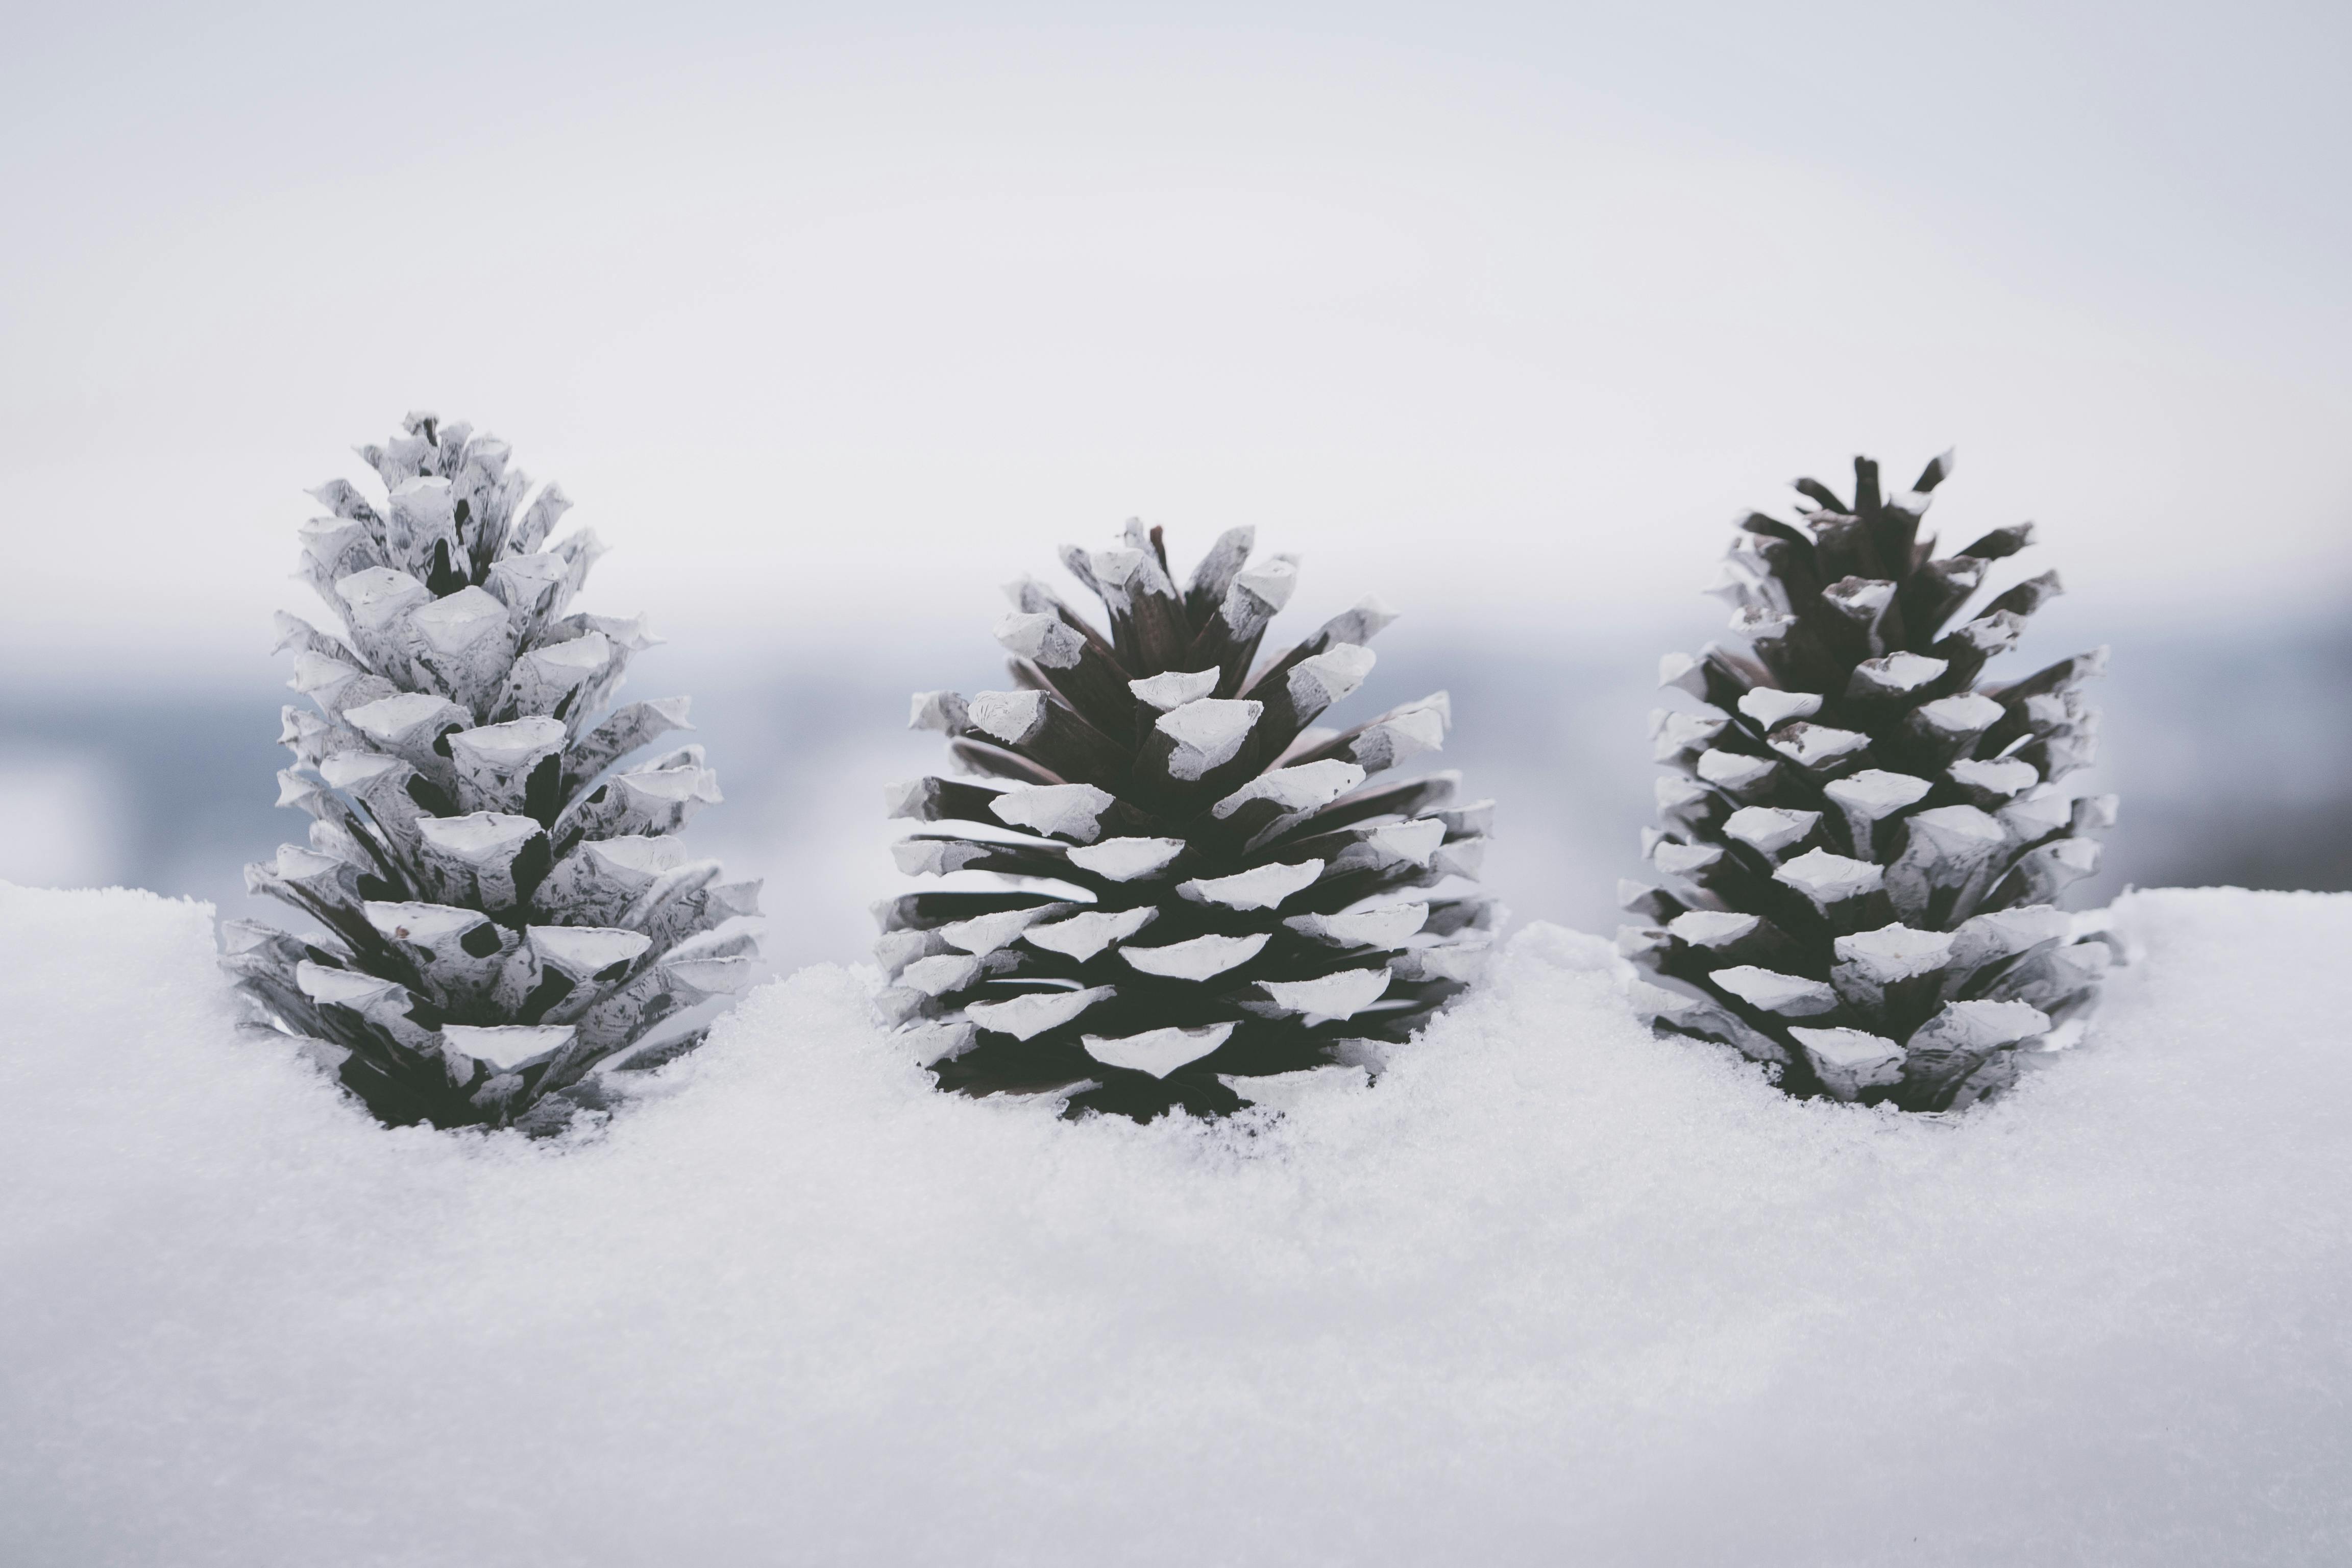
The snow is in your kitchen! You can use Epsom salt, regular salt or kosher salt. We used Morton Coarse Kosher Salt here because the larger flakes look beautiful as snow. ( See REALLY HELPFUL TIP above on the differences!) Get Our Top Secrets! 5-day Trash to Treasure Free Series: Turn recycled & found stuff into beautiful 💚decor & gifts!
Pine Cone in Snow Photograph by Jennifer Grover
180 PCS Rustic Mini Pine Cones, White Christmas Snow Pine Cones Ornaments,Wood Frosted Pine Cone Ornaments for Thangksgiving, Christmas, Autumn, Home, Party,Decorations,DIY Crafts and Gifts. $1399 ($0.08/Count) FREE delivery Sat, Oct 28 on $35 of items shipped by Amazon. Or fastest delivery Fri, Oct 27. Only 13 left in stock - order soon.

Pine Cones In The Snow Stock Photos Image 8188453
How to make snow-covered pine cones in 3 easy steps. This tutorial will show you how to flock pine cones to achieve that beautiful winter wonderland look. Add this DIY Snowy pine cone craft to your Christmas tree, garland, wreath, or table centerpiece. I'm a big fan of flocked Christmas décor.

Pine Cone and Snow stock photo. Image of cold, pine, decorative 63141000
Print Project 5 from 11 votes Pinecone Snowman This adorable pinecone snowman ornament is fun to make, and it makes a great gift! You can skip the hanger and display him on your mantel if you prefer. Supplies 1 Pinecone White, light blue, and black craft paint 1 brown pipe cleaner 1" piece of orange chenille stem 2 medium light blue pom-poms

Pine Cone On The Snow Stock Photos Image 22227973
fake snow glue paint brush. You probably already have most of these supplies, so let's get started. You can purchase pine cones at any craft store or find your own in nature. If you find the pine cones in nature you will need to bake them for about 30 minutes in a 200 degree oven to make sure to get rid of any bugs living in them.

Pine cone in snow Stock Photo 1862354 StockUnlimited
2 paper plates. First, pour a generous amount of glue onto one paper plate. Then pour the snow on the other paper plate. First dip the pinecone in the glue where you would like the snow to stick. Then roll the glued pinecone around in the snow. Place the pinecones on a protected surface to dry. And it really is as easy as that.

Snowy christmas background with fir branch and pine cones. Background
First, start by gathering up all your supplies. For the "snow" for these pinecones you will need salt. I personally used and recommend Epsom salt, because it is inexpensive and the flakes are large like real snow. You can also use regular salt or a coarse kosher salt like this one.