
Ironon Patch US army
Put the patch in its place and cover it with a thin cotton cloth. The cloth will protect the patch while allowing the heat to go through to seal it to the hat. Iron in a circular motion for about 15 seconds, and then make sure you go around the edges for another 15 seconds. Then, remove the cloth and let the patch cool off before wearing the.

Iron On Logo Patches Wholesale, Save 41 jlcatj.gob.mx
1. Prep the Iron Photo: Szymon Brzoska / The Style Stalker To properly affix a patch, be sure to turn up your iron to the highest heat setting. Before you get started, make sure your fabric is a match. Iron-on patches work best with materials like cotton and polyester but can seriously damage fabrics like nylon, rayon, or rain-jacket material.
Ironon Patch Professor Pincushion
Grab an iron, an ironing board, your desired patch, a thin piece of fabric like a pillowcase or sheet to protect your clothing and patch from the heat, and the piece (s) of clothing you want.

How to Iron on Patches In 4 Simple Steps Who What Wear UK
Learn how to iron on patches with this easy-to-follow steps video.Tools and Materials:- iron- ironing board or stable surface- cloth or white t-shirt- jean j.
High quality 10PCS Eyes embroidered patches for clothing iron on
A patch must have a heat-activated adhesive backing to be ironed onto fabric successfully. This is typically not a standard backing option and is only available for embroidered, woven, and printed patches. These adhesives are designed to melt under the heat of an iron, creating a strong bond with the fabric.
36 Pcs Iron On Fabric Patches for Clothing Repair Mending Sewing
What are the Different Types of Iron-On Patches . 1. Embroidered Iron On Patches: These patches are made by stitching colorful threads onto a fabric base, creating detailed and textured designs. 2. Printed Iron On Patches: Printed patches use advanced printing techniques to transfer high-quality images or designs onto the fabric. They can reproduce intricate patterns and vibrant colors, making.

A Guide to Iron On Patches Custom Embroidered Patches Best Quality
What should you iron it onto? Cotton fabrics work best, as well as denim. If you go for a fabric that has plastic in it, you will run the risk of burning and melting it with the iron. Always test a small part of your clothing first with the iron before you apply a patch.

Lot of 15 2"x3" Vintage IronOn Repair Mending Fabric Patches
Place the cool, flat plate of the iron on top of the patch. Leave this to sit for 12 hours. Alternatively, you can use heat to iron the patch onto a fabric scrap and then sew it onto the leather using leather-working tools. This is a more permanent method for applying patches to leather. 8.

Iron on Patch STOKLASA Haberdashery and Fabrics
Find the deal you deserve on eBay. Discover discounts from sellers across the globe. We've got your back with eBay money-back guarantee. Enjoy great deals you can trust.

Factory Cheap Price Custom design your own iron on patch for clothing
Heat your iron to the hottest setting. Hold the hot iron on the pressing cloth (and patch) for 20 to 45 seconds. Turn the material inside out to access the other side of the patch. Place your pressing cloth over the back of the patch. Hold the hot iron over the pressing cloth (and patch) for 20 to 45 seconds. Let it cool.

PatchMD Iron Plus Topical Patch IRP Best Transdermal Alternative
Place the patch on garment for application; Cover the emblem with wax paper; Apply pressure for approximately 18 seconds with 40 PSI foam under garment; Caring For Iron On Patches. Now that your patch is firmly attached to the fabric, make sure the garment is only laundered using cool water. Hot temperatures can reactivate the glue which holds.
How To Iron On A Custom Patch
Prep. First make sure that the backing of the patch is clear of any debris such as hairs, fuzz, lint or dirt. Next, you need to know what kind of fabric you are ironing the patch onto. Choose.
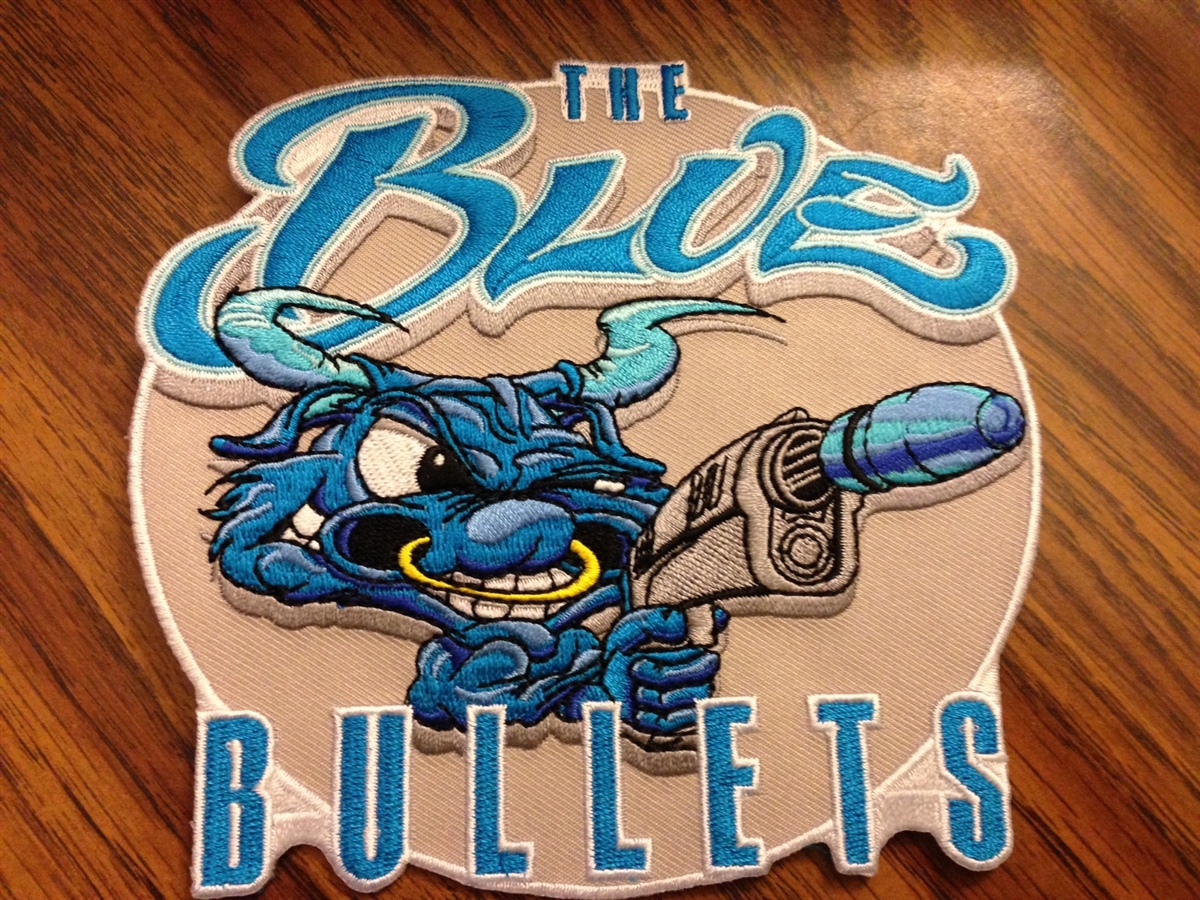
Iron On Patch The Blue Bullets
If a patch is made with an iron-on backing and it is being used to repair clothing that has been damaged, it should be attached by using the iron-on method and then reinforced by sewing, either by hand or with a sewing machine.
How to Iron on Patches In 4 Simple Steps Who What Wear
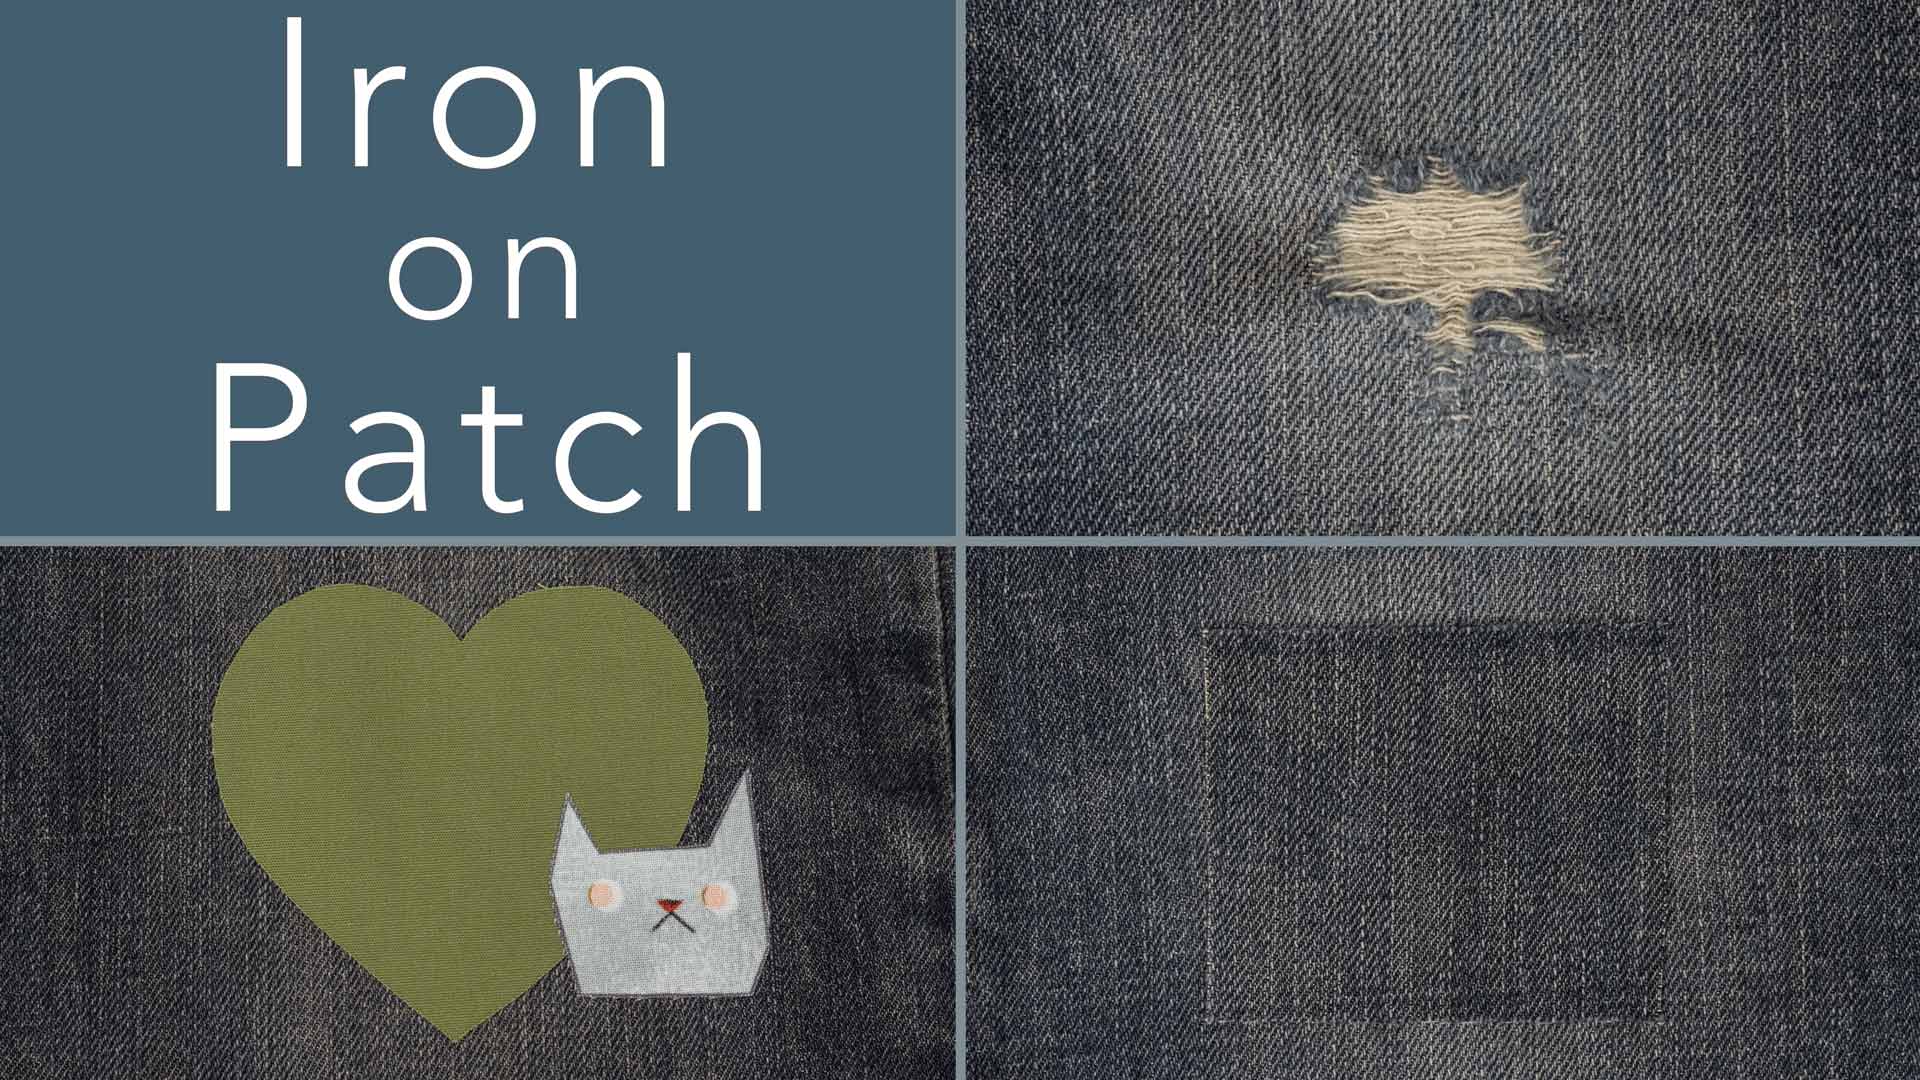
An iron-on patch is an easy, affordable solution to add your personal aesthetic to any piece of clothing or to cover up small holes and tears, too. In this article, we'll show you step-by-step how to prep your garment and iron on a patch that lasts so you can rock your design for years to come. Let's get started while the iron's hot!

Ironon Patch Bundle (3, 5, or 10) Jeff Finley
Step 1: Preparing Your Garment Lay your garment out on a flat, heat-resistant surface. Smooth out any wrinkles that might interfere with the patch's ability to lay flat. Clean the area where you'll be applying the patch, as dirt or oils can prevent the adhesive from bonding correctly.

Iron On Patches Assorted DIY Patches, 50 Count
Carefully place a piece of cloth or a sheet of paper on top of the patch, ensuring the patch doesn't move. Place your iron over the pressing cloth or paper, taking care not to create any movement so that the patch stays put. Hold for 15-20 seconds or the recommended time. Remove the pressing cloth once cooled.